Build a Secure Ghost Integration with Signature and Tolerance delay verification

In this tutorial, we will walk you through how to set up a secure custom integration with a Ghost blog by listening to events and verifying signatures. This guide will be particularly useful if, like me, you’ve struggled with ensuring security when automating actions such as sending to every users of a mobile application push notifications every time a new blog post is published. Signature verification is crucial in preventing malicious actors from spamming your system with fake or unwanted notifications.
If you need support please contact us or leave a comment we are here to help
Summary
- Why Signature Verification is Important
- Create a custom integration in Ghost admin interface
- Create a Webhook Endpoint
- Verify Ghost Blog Signature
- Defining helpful Regex
- Creating the
verifySignatureMiddleware - Imports
- Parsing raw data using
parseSignatureDataHeader() - Implementing the Signature Verification Module itself
- How it Works
- Why This Module Is Essential
- Add an additional layer of security by setting tolerance window
- Send Push Notifications
- Conclusion
- Entire code
Why Signature Verification is Important
When dealing with webhooks or automated notifications, it’s vital to ensure that every request you process is authentic. Without signature verification, anyone that find the url of your endpoint could trigger unwanted events, causing mass notifications to be sent to your users. This opens up your system to potential abuse, and no one wants that. Signature verification ensures that the requests are coming from a trusted source — in this case, your Ghost blog.
Create a custom integration
To integrate a custom webhook with your platform, follow these simple steps. This process will allow you to seamlessly connect external services to your platform’s event triggers, ensuring real-time updates and smooth functionality.
- Access the Admin Interface: Start by going to your admin dashboard, navigate to Settings, and select Integration.
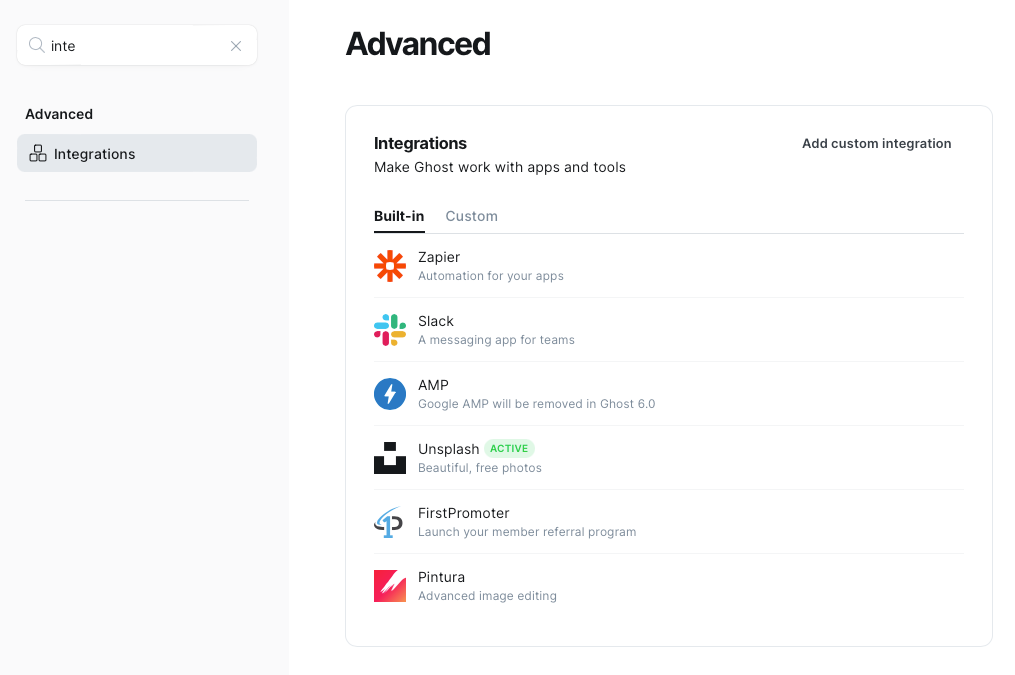
- Add Custom Integration: Click on Add Custom Integration, and provide details such as the Name, Description, and an Icon for the integration.
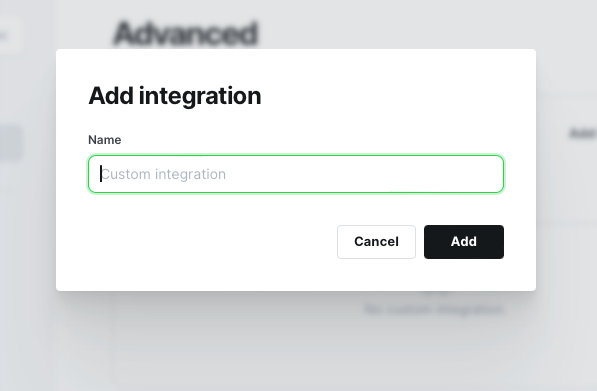
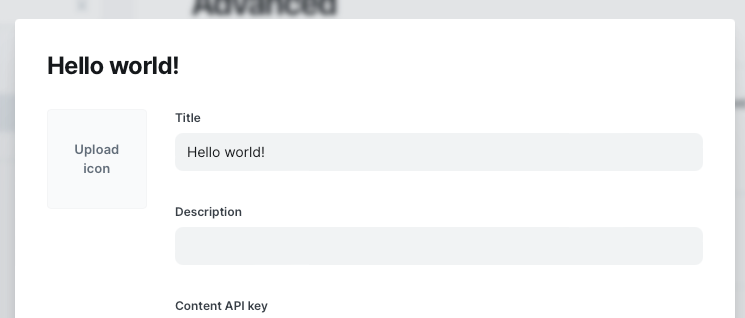
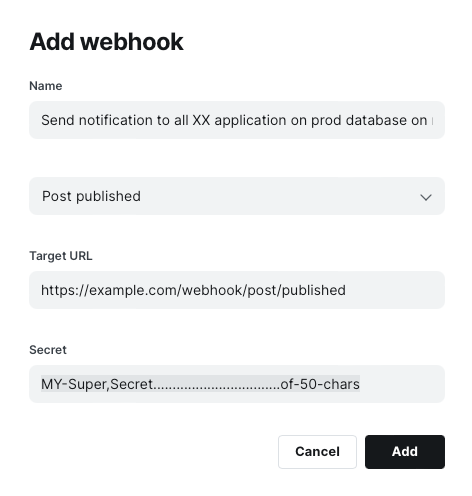
- Add a Webhook: After adding the integration, click on Add Webhook. Enter a specific Name for the webhook and select the Post Published event as the trigger. If you want to listen for multiple event, or warn multiple endpoint of the same event, you will need multiple webhooks so write a clear and easy to understand name.
- Provide Webhook URL: Input the URL for the webhook endpoint, which will be built in the next steps.
- Set the Secret: In the Secret field, create a strong string of at least 50 characters, including letters, numbers, and special characters, to enhance security.
Create a Webhook Endpoint
The first step in this integration is to create a webhook endpoint that listens for events from your Ghost blog. You’ll need a server capable of receiving HTTP POST requests.
In the code snippet below, we import the necessary dependencies and create a POST endpoint that listens for blog post publication events from Ghost. The middleware verifySignature is responsible for validating the authenticity of the incoming request, and once validated, the request is forwarded to the notifyUsersNewBlogPost() function to handle the notification logic.
/**
** Author: Sofian Belahouel
** Filename: router.js
** File description: This file contains all the routes needed.
** Create Time: 2023-10-12 08:35:31
** Modified by: Sofian Belahouel
** Modified time: 2023-10-12 08:35:34
**/

const verifySignature = require("./path/to/verifySignature.js");
const { notifyUsersNewBlogPost } = require("./path/post_published.js");

// Example Express.js webhook endpoint
router.post("/ghost/post/published", verifySignature, notifyUsersNewBlogPost);
Here’s how the code works:
verifySignature: This middleware validates the signature sent by Ghost in the webhook request to ensure that the event came from a trusted source.notifyUsersNewBlogPost(): If the signature is valid, this function will trigger the necessary action—in this case, notifying users about the new blog post through push notifications.
Verify Ghost Blog Signature
First, we will define some helpful regular expressions (regex) to validate the signature and timestamp formats from Ghost's webhook requests. These will ensure that the incoming data is in the expected format.
Defining the Regex
We’ll begin by creating a regex.js file to store our regular expressions:


